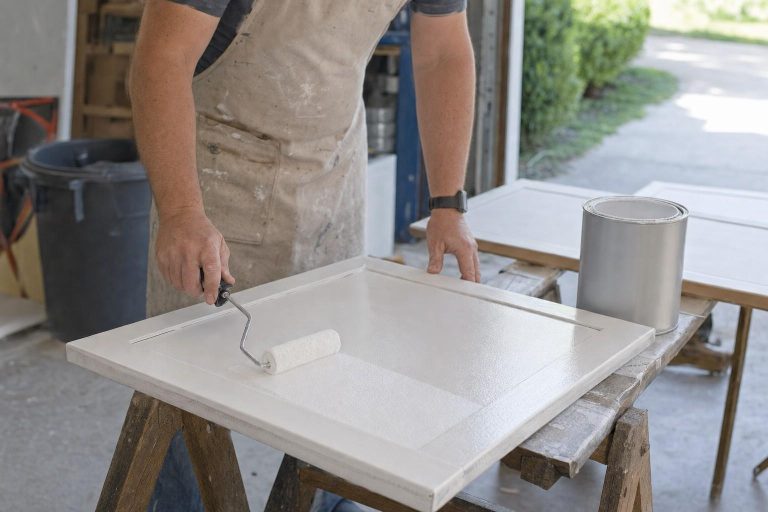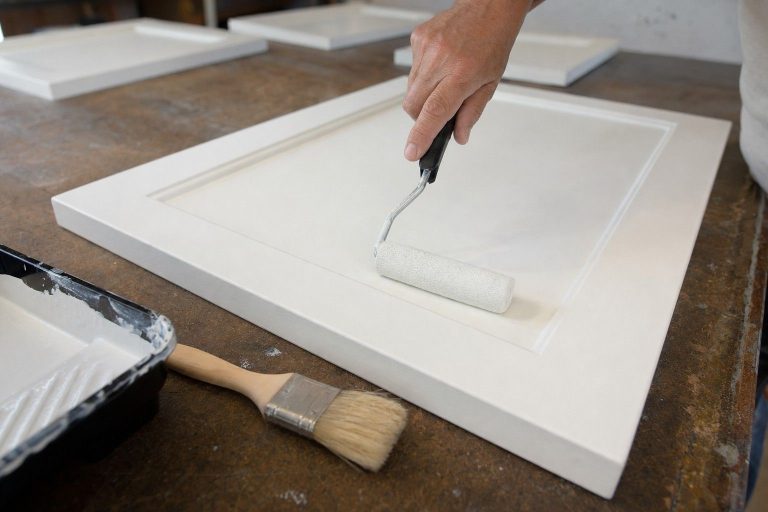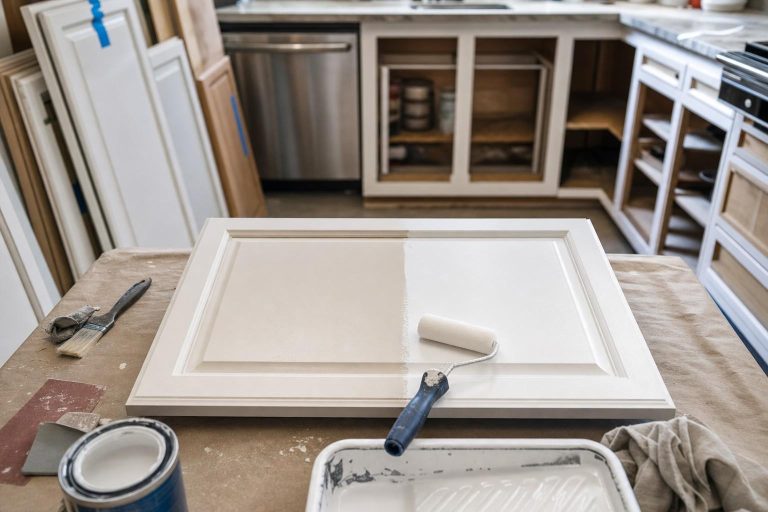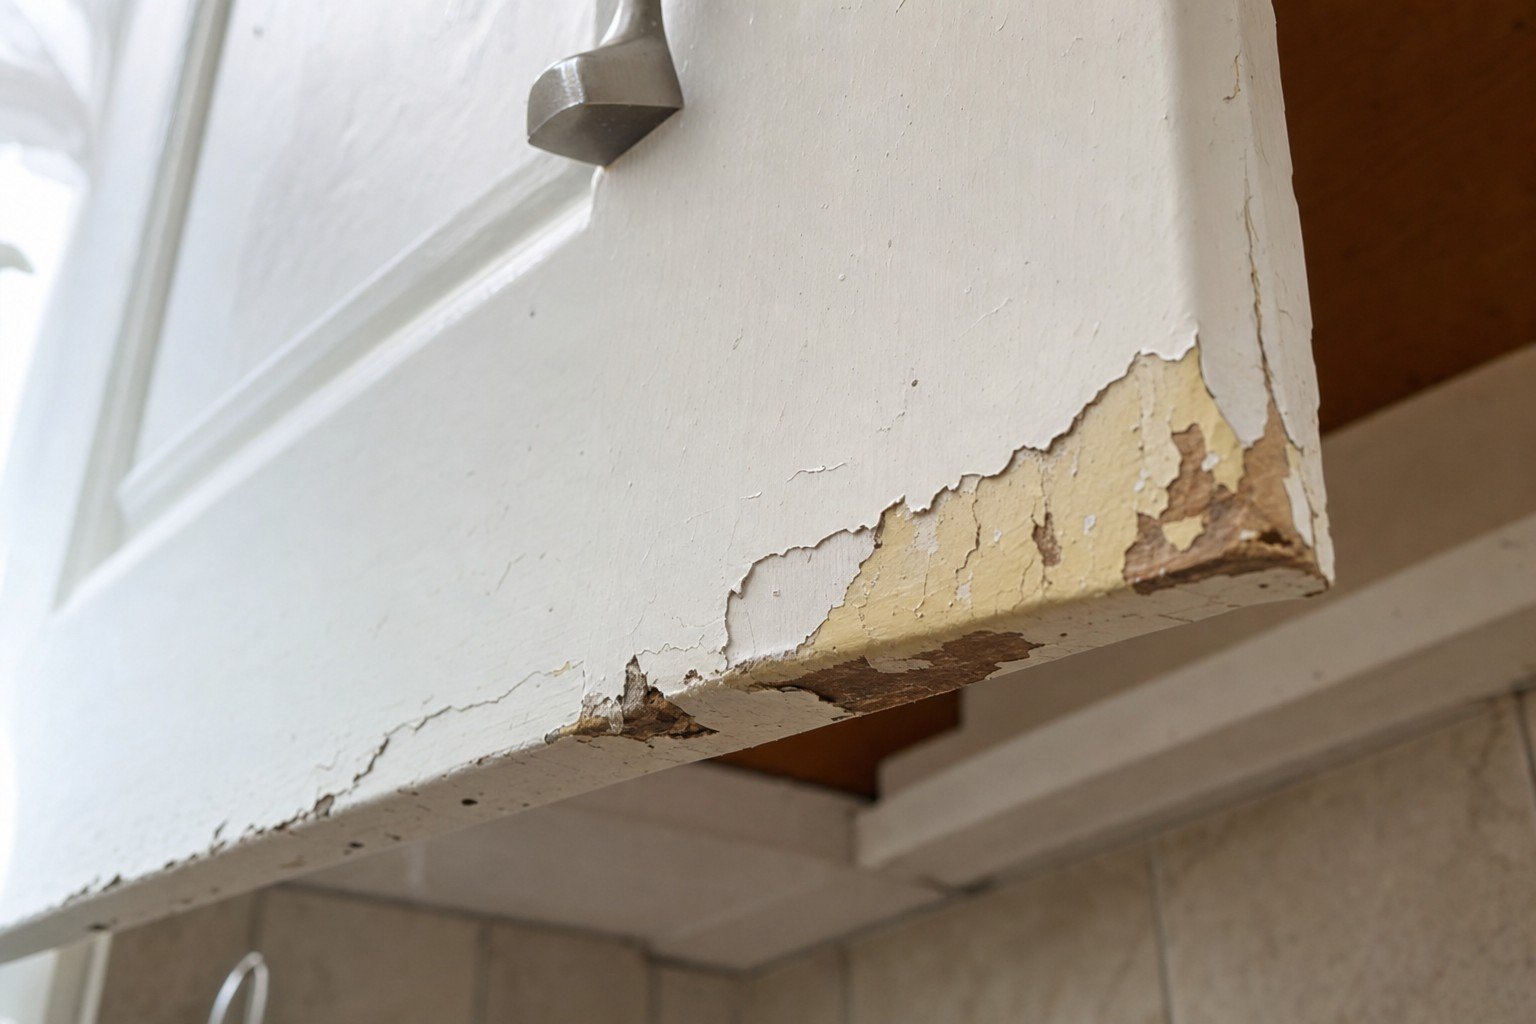
Why Does Cabinet Paint Chip? (And How to Prevent It)
Cabinet paint does not fail at random.
Almost every chip, peel, or flake traces back to one of five gaps in prep.
Each cause has a specific fix. Skip the fix and the same failure shows up again in the next paint job.
A second repaint costs real days, not just another can of paint.
Short answer: paint chips when grease, gloss, missing primer, the wrong paint, or rushed cure time gets in the way. Degrease, degloss, prime, use a real cabinet enamel, and let it cure fully.
The 5 reasons cabinet paint chips (and the prep that fixes each one)
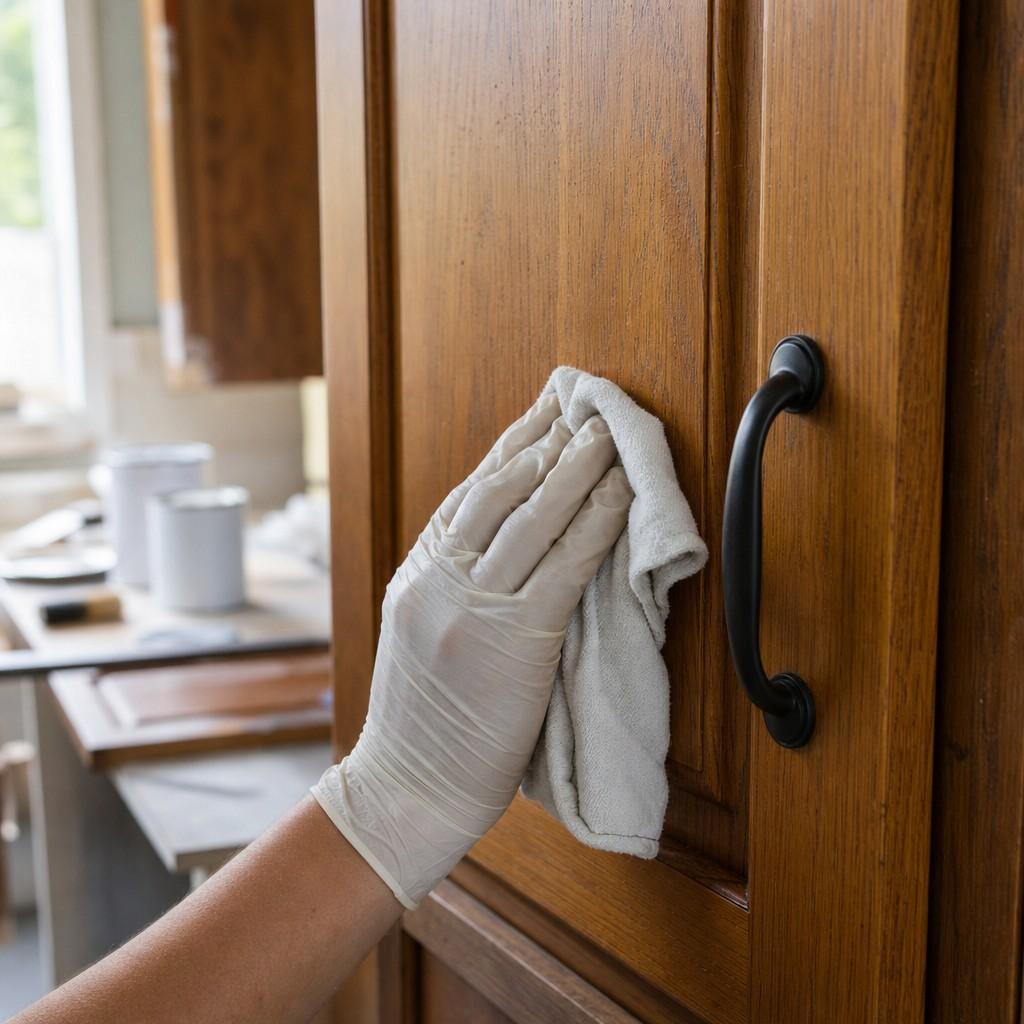
Chipping almost always comes down to the surface underneath, not the paint itself.
Here is what causes each failure, and the fix that prevents it.
1. Grease and hand oils on the surface
Grease is the single biggest reason paint will not stick to a cabinet. Kitchen cabinets pick up a thin film of cooking oil and hand oils. It collects near pulls, hinges, and anywhere hands touch while cooking.
That film is often invisible. Paint goes on smoothly over it and looks fine for weeks.
Then it lifts, sometimes in whole sheets near the handles.
Upper cabinets near the stove or vent hood usually carry the thickest film.
Most cabinet enamel manufacturers list degreasing as the first prep step on their technical data sheets, ahead of sanding.
The fix: wipe every surface with a dedicated degreaser, not just soapy water. Pay extra attention around handles and near the stove.
2. A glossy surface that was never deglossed
Factory cabinet finishes are usually a sprayed lacquer or a hard catalyzed coating.
Both are dense and slick by design.
New paint has nothing to grip on a surface that shiny. The standard fix is to sand a glossy surface dull, or wipe it with a liquid deglosser first, so the next coat has something to hold.
You are not stripping the finish.
You are just breaking the shine enough for the next coat to hold.
Run a hand across a cabinet door before you buy paint. If it feels slick or slightly waxy, that surface needs deglossing first.
Check corners and inside edges too. A missed spot there fails just as easily as the visible faces.
3. No primer, or the wrong primer
Cabinet enamels are built to sit on a primer, not bare wood or an old finish. Skip primer, or use a generic one, and the top coat has nothing stable underneath it.
This matters most over slick surfaces, over old oil-based paint, or on thermofoil and laminate cabinet doors. Thermofoil and laminate are plastic-like surfaces, not wood, so a primer made for painted wood may not hold on its own.
Zinsser’s shellac-based bonding primers are marketed specifically for glossy, laminate, and previously oil-painted surfaces, for exactly this reason.
A wall primer is not built for that job.
It is worth reading the label before you buy.
4. Wall paint instead of a cabinet-grade enamel
Interior wall paint is formulated for a vertical surface nobody touches. Cabinets get opened, bumped, and wiped down every day.
That daily handling is exactly what wall paint is not built to survive. Benjamin Moore markets its ADVANCE line specifically for cabinets and trim. It is positioned as a harder, more washable film than standard wall paint.
A cabinet-grade enamel cures into a tougher surface.
That toughness is the entire point of the product category.
5. Not enough cure time before use
Paint feels dry to the touch within a few hours.
That is not the same as cured.
A dry film can still be soft underneath for days or weeks after painting. Cabinet enamel manufacturers commonly note that full cure takes longer than the recoat window, often several weeks, even once the surface feels dry.
Rehang doors or load shelves too soon and that soft film presses against itself. Doors stick shut, then peel apart when you open them.
The fix is patience: leave doors off and shelves empty for the full cure window the product label states.
Which cause is yours?
The symptom usually points straight at the cause. Match what you see against this list before you reach for more paint.
- Peeling near handles and hinges, worse close to the stove: grease.
- Whole flakes lifting off an unbroken glossy section: missed degloss or primer.
- Chips concentrated on thermofoil or laminate doors: the wrong primer for that material.
- Soft, dented, or stuck-together doors weeks after painting: not enough cure time.
More than one symptom usually means more than one cause. Most bad jobs skip two steps at once, not just one.
The prep that lasts
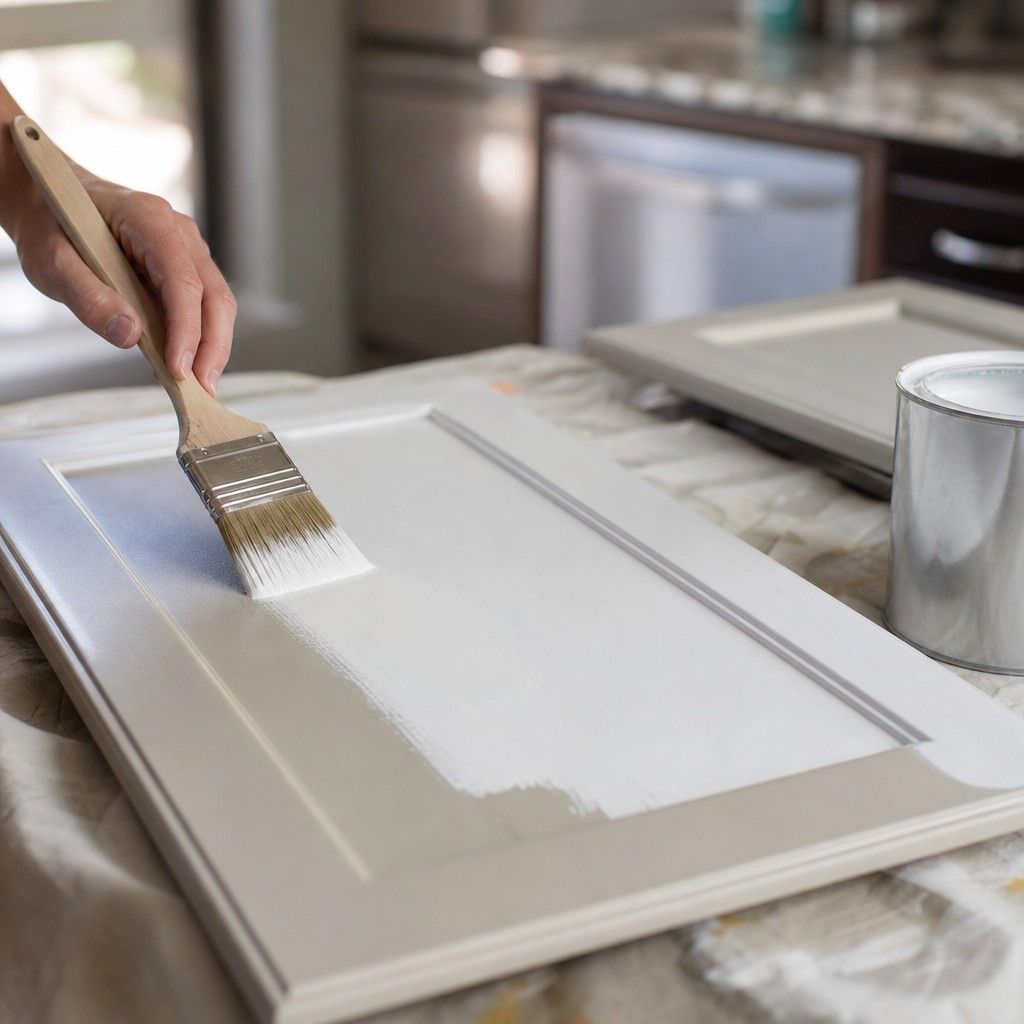
Five causes, five fixes.
Run through this list before you call a cabinet paint job done:
- Degrease every surface, especially near handles and the stove.
- Scuff or degloss anything shiny until it looks matte, not wet.
- Prime with a bonding, stain-blocking primer made for slick or previously painted surfaces.
- Paint with a cabinet-grade enamel, never leftover wall paint.
- Let the final coat cure fully before rehanging doors or loading shelves.
The bottom line
Cabinet paint rarely fails because of a bad gallon. It fails because one prep step got skipped under time pressure.
A pricier paint will not fix a skipped prep step. Every cause above is a prep failure, not a product failure.
Degrease, degloss, prime right, use the right paint, then wait out the cure. Do all five and chipping stops being a mystery.