How to Paint Kitchen Cabinets That Last: The Prep and Product Checklist
Painting kitchen cabinets is mostly prep. Get the prep right and the paint is the easy part.
Short answer: clean, sand, prime, then two thin coats of a hard cabinet enamel. Let each coat cure fully. Skipping the degrease-and-sand step is why most cabinet jobs peel.
Reader-supported: if you buy through links on this page we may earn a small commission, at no extra cost to you.
The kitchen cabinet painting supply checklist
Gather everything before you start. Running out mid-project stalls the job and invites shortcuts.
Buy the full list up front. A half-stocked cart is how prep steps get skipped.
Prep
- A screwdriver and a labeling system (tape and a marker) for doors and hardware.
- Degreaser or liquid deglosser to strip cooking grease and old sheen.
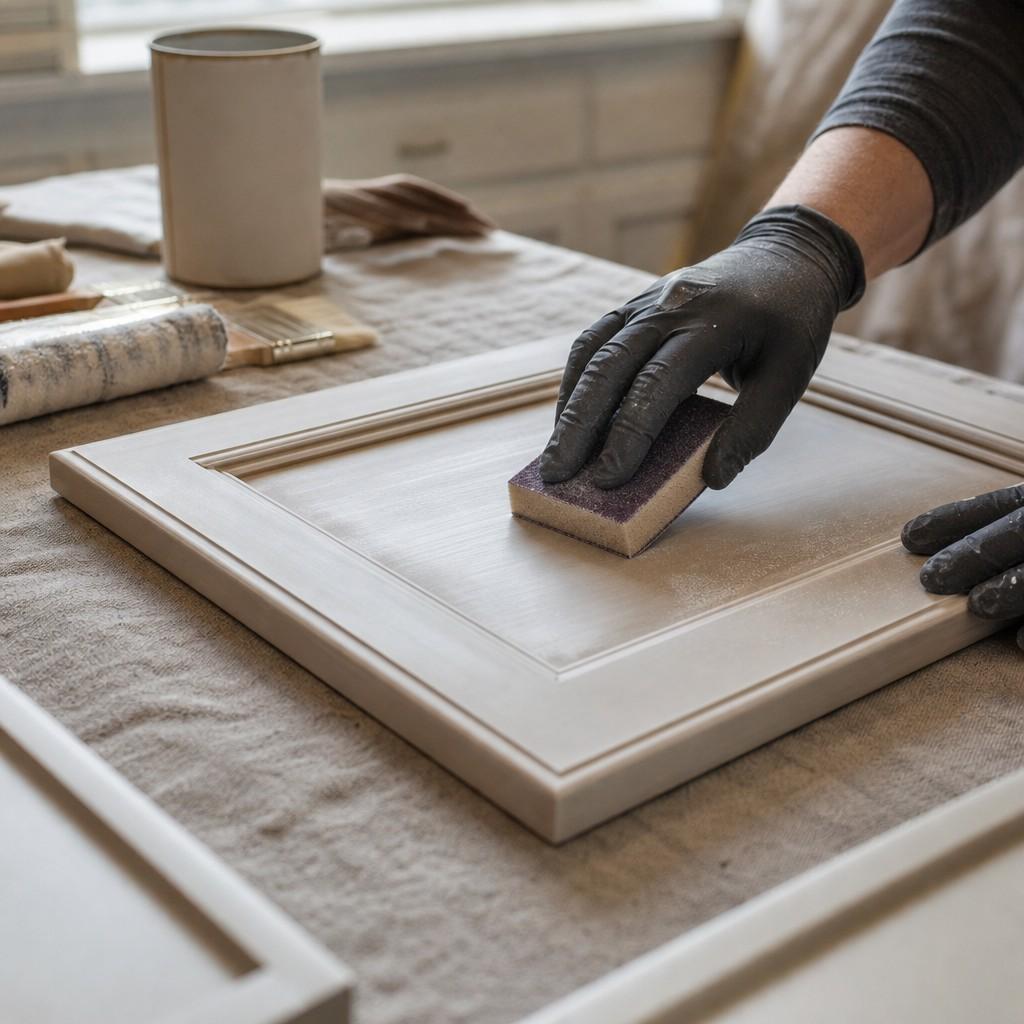
- Some 220-grit sanding sponges for dulling the surface between coats.
- A few tack cloths to lift sanding dust before you prime or paint.
- Drop cloths and a dust-free space to work in.
Primer
- A bonding primer built for cabinets. Cabinet enamels are not self-priming.
- A separate brush or roller just for primer, kept apart from your paint tools.
Paint
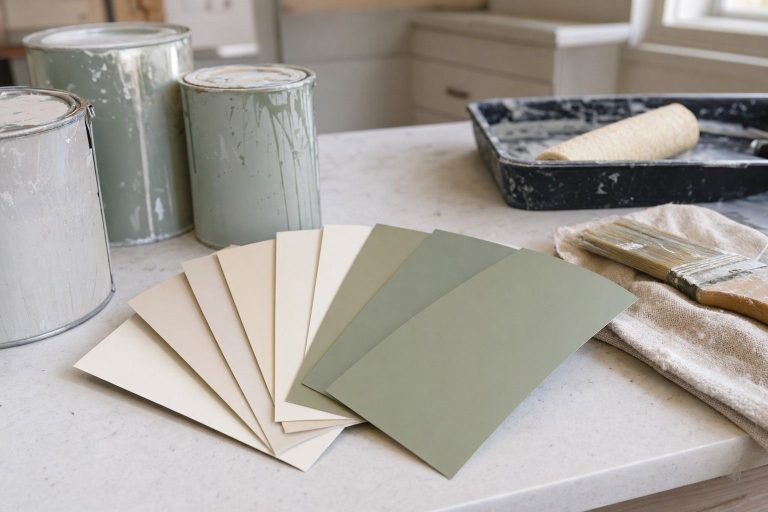
- A hard cabinet enamel, not a wall paint. See the best cabinet paint compared for how the top options stack up.
- If you are still deciding on a finish or sheen, types of paint for kitchen cabinets walks through the options.
Applicators
- An angled sash brush for frames, edges, and corners.
- A foam or microfiber mini-roller for flat door and drawer faces.

- 【Comprehensive Set】: Great painting tool kit with 4 Inch high density foam paint roller cover*5, 4 inch paint tray*1, 4 inch paint tray liner*2, 4 Inch paint roller frame*1, 2.5" angel paint brush*1, 2" angel paint brush*1, 1.5" angel paint brush*1, 1" paint brush*1, scraper, sanding block
- 【Superior High Quality】: Enjoy best-in-class performance that makes your work easier.High density foam paint roller is durable with water and oil based paints, glosses, stains, emulsions, and varnishes, and won't deform easily.
- 【Multiple Adaptability】: Small foam paint roller covers can be used on most flat surfaces, like the doors, cupboards, and cabinets, and leave smooth and even finishes.
- 【Affordable】: This high quality set is for perfectionist and money savers. The value you get in this paint tray set is unbelievable for the price.
- 【Any One Can Use】: Whether you're a professional or a beginner, this paint tool kit is perfect for any user.
Protection
- Rolls of painter’s tape for cabinet openings, hinges you are keeping, and adjacent walls.
- Clean, flat drying racks or a pegboard so painted doors do not touch anything while wet.
- Nitrile gloves and a respirator rated for solvents if your primer or enamel calls for one.
Step by step
The order matters. Each step sets up the one after it.
1. Remove doors and hardware
Take off every door, drawer front, hinge, and pull. Label each one with tape as it comes off.
A simple numbering system saves an hour of guessing at reassembly.
2. Clean and degrease
Wipe every surface with degreaser. Kitchen cabinets carry a film of cooking grease you cannot always see.
Grease is the single biggest reason cabinet paint peels. Skip this step and no primer will hold.
3. Sand to 220 grit
Sand all surfaces to dull the factory sheen. You are not stripping the finish, just breaking its shine.
A dull, slightly rough surface gives primer something to grip. Wipe away the dust with a tack cloth before moving on.
4. Prime
Apply a bonding primer in thin, even coats. Cabinet enamels are formulated to sit on primer, not raw wood or old finish.
Skipping primer is the second most common cause of early paint failure, right behind grease.
5. Sand the primer lightly
Once the primer is dry, knock down any raised grain or brush marks with a light pass of fine sandpaper. Wipe clean again.
This step is quick but it is what makes the final coat look sprayed rather than brushed.
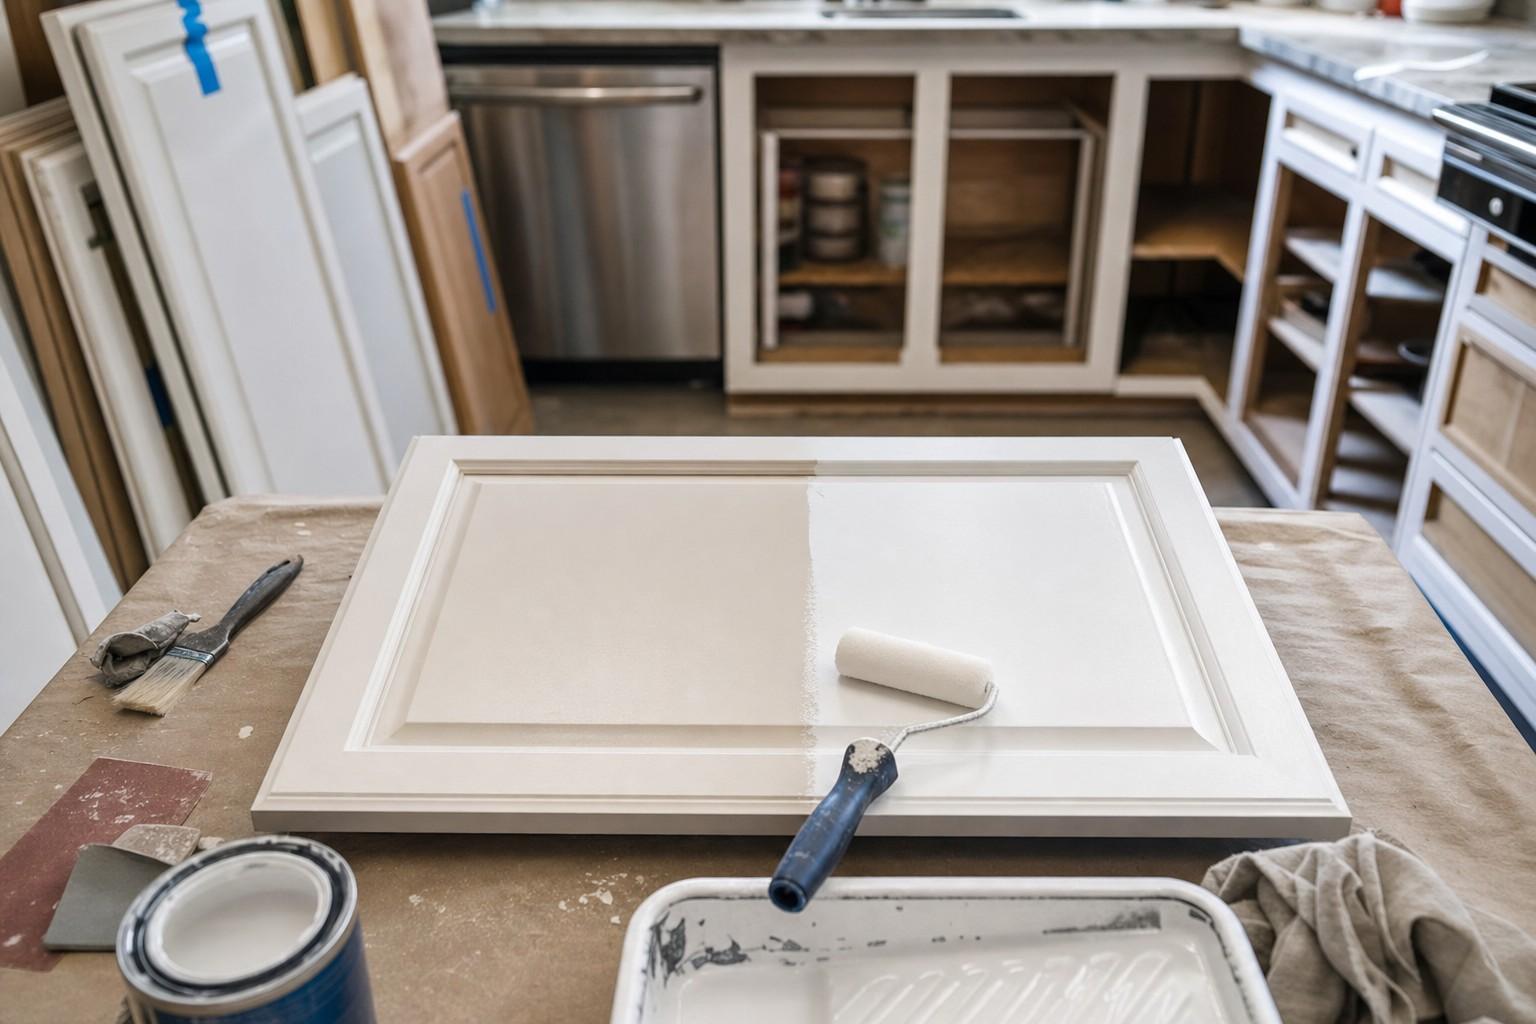
6. Paint two thin coats
Apply your cabinet enamel in two thin coats rather than one thick one. Thick coats sag and stay soft longer.
Let the first coat dry to the touch before the second. Two thin coats level out and build a harder film than one heavy pass.
7. Cure and reassemble
Let the final coat cure fully before you rehang doors or load shelves. Cured paint resists dents and scuffs; dry paint does not.
Do not rush this step. A finish that looks dry can still be soft underneath for weeks.
Brush and roll, or spray?
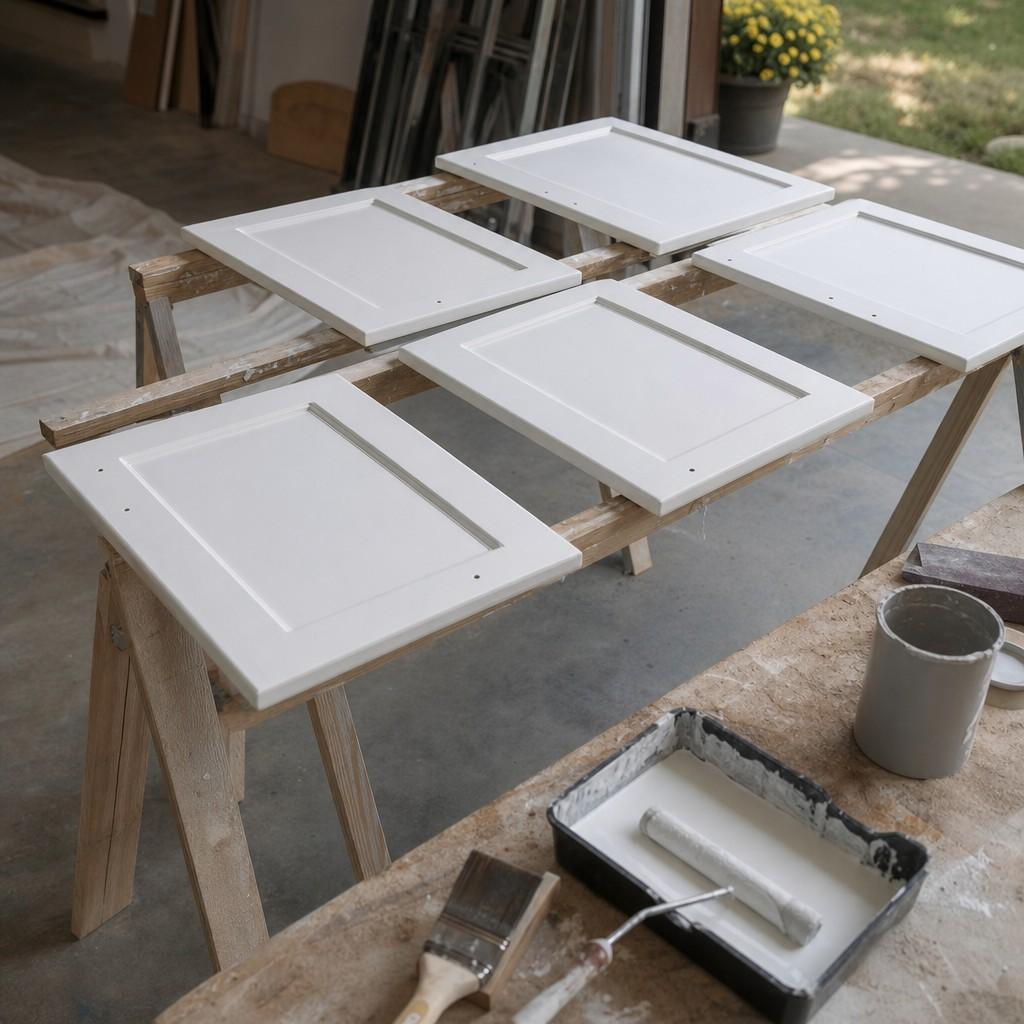
Both methods can produce a durable finish. The difference is speed, setup, and how forgiving the result looks up close.
Brush-and-roll is the accessible choice for most DIYers, and it is genuinely good enough for daily use.
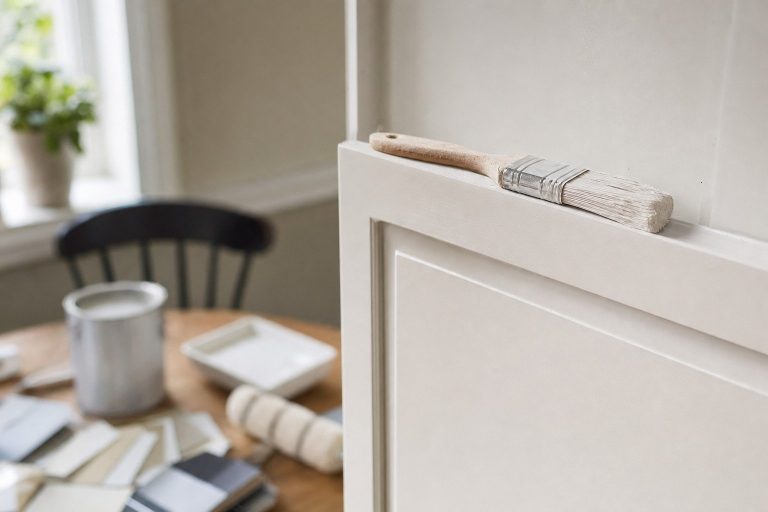
An angled sash brush handles frames and edges. A foam or microfiber mini-roller lays down flat door and drawer faces without lap marks. See the best brushes and rollers for cabinets for picks that hold up over a full kitchen.
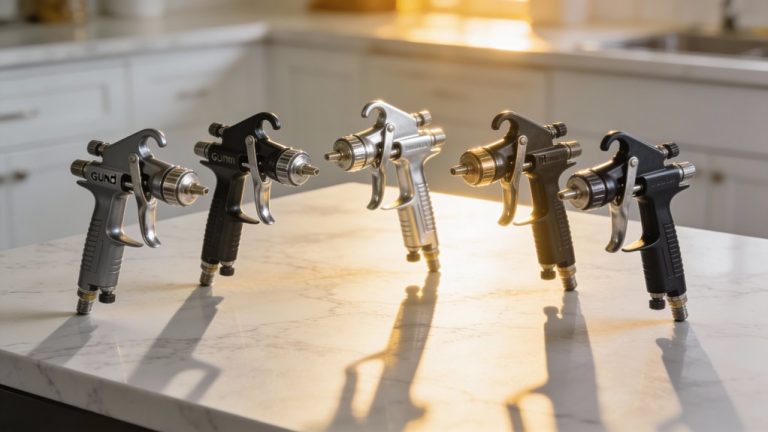
A sprayer gives the flattest, most factory-like finish. It also means more masking, more setup, and more cleanup.

- 【4 Nozzles & 3 Spray Patterns】VONFORN 700W paint sprayer includes 4 nozzle sizes (1.0mm, 1.5mm, 2.0mm, 3.0mm) to accommodate various DIY projects on surfaces such as furniture, fences, walls, doors, and garden sets. It supports 3 adjustable spray patterns: horizontal, vertical, and circular, making it suitable for a wide variety of application scenarios
- 【Dust Blowing & Convenient Cleaning】Before spraying, use the matching dust blowing joint to clear dust and debris from the surface for a smoother finish. After use, simply connect the cleaning connector to a faucet to flush out residual paint inside the tube, enabling quick and efficient cleaning
- 【Easy to Use & Clean】This paint sprayer features tool-free assembly, allowing even beginners to get started quickly with the included manual. To maintain optimal performance, we include a cleaning brush and a nozzle needle to remove residue, enabling thorough cleaning after every project
- 【Adjustable Flow Control】This paint sprayer features a flow control knob that allows you to fine-tune the paint output to fit various project needs. Regulating the flow helps achieve a consistent finish while supporting efficient paint usage during operation
- 【What You Will Get】Package includes: 1 × Paint Sprayer, 4 × Nozzle Sizes, 5 × Paint Filters, 1 × Viscosity Cup, 1 × Nozzle Cleaning Needle, 1 × Cleaning Brush, 1 × Dust Blowing Joint, 1 × Cleaning Connector, 1 × Pot Lid, and 1 × User Manual. If you have any questions, please contact us through your order page for assistance. We provide dedicated customer support to respond to all inquiries within 18 hours, with our technical and after-sales teams ready to assist with your project

If you already have a spray setup or want that showroom look, the best paint sprayers for cabinets covers what to look for.
Common mistakes that make cabinet paint fail
Most cabinet paint failures trace back to one of these.
- Skipping the degrease step. Grease under paint means the paint has nothing to bond to.
- No primer, or the wrong primer. Cabinet enamels need a bonding primer underneath them.
- One thick coat instead of two thin ones. Thick paint sags and stays soft.
- Reinstalling before the paint cures. Doors closed too soon stick together and peel apart.
The bottom line
Cabinet painting rewards patience. The prep steps take longer than the painting itself, and that is by design.
Clean, sand, prime, then two thin coats. Let it cure before you touch it again. That sequence is the whole job.
Related reading
Once your cabinets are painted, how to paint kitchen cabinet hardware covers matching hinges and pulls to your new finish.